
Imprivata Mobile Access Management supports Android mobile devices. Customers can benefit from the power of the MAM platform to help manage their fleet for devices. New and existing customers can utilize the identity and asset management features of MAM, all in one console. The familiar tap and go workflows allow users to check out Android devices. 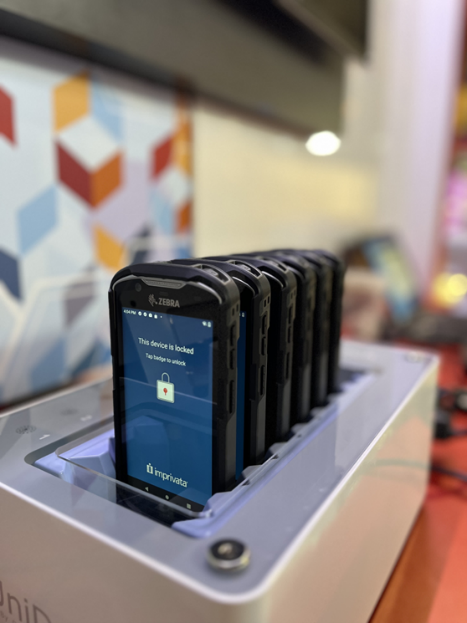
This document will guide you through the steps of setting up the Imprivata Locker Android app and enabling a Check Out and Check In Workflow for your Android device. For more information on Locker Android, see this article.
Before You Begin
This guide assumes the following:
- MAM Server 6.0 and later
- MAM Launchpad 6.0 and later
- Imprivata Locker Android app 1.0 and later
- MAM licensing for Check Out
- MAM is configured with Imprivata Enterprise Access Management (formerly Imprivata OneSign). For more information, see integrating with Imprivata Enterprise Access Management.
System Requirements
| Item | Support |
|---|---|
| Operating system | |
| Android OS | Android 9 or later |
| Devices | |
| Cisco devices | CP 860 |
| Google Pixel 7 Google Pixel 7a Google Pixel 8 Google Pixel 8 Pro |
|
| HMD | HMD Fusion HMD Pulse HMD Skyline |
| Honeywell devices | CT30 (non-healthcare) CT37 |
| Samsung devices | Samsung Galaxy S25 Ultra Samsung S22 Samsung A14 Samsung A15 5G Samsung xCover 6 Pro |
| Spectralink devices | Versity 95 Versity 96 Versity 97XX |
| Zebra devices | Zebra TC5 series - TC52, TC57 Zebra TC2 series - TC21, TC26 Zebra HC50 Zebra ET40 tablet |
| Mobile browsers | MAM supports clearing browser cache as part of Check In action: - Google Chrome - Microsoft Edge |
| Device settings and permissions | The Imprivata Locker app for Android devices requires the following device settings and permissions: - Draw over (overlay) other apps. - Accessibility Service. |
| MDMs | Android devices must be enrolled in an MDM system: - Omnissa Workspace ONE (VMware Workspace ONE) - Microsoft Intune - SOTI MobiControl - Samsung Knox Manage |
Getting Started
Step 1 – Obtain the Locker App for Android from Google Play
For more information on obtaining the Locker app, see the Locker App article.
Step 2 – Assign and Register Locker Android with Your MDM
This is an important and foundational step to ensure that MAM, the Locker app, and your MDM are communicating with each other correctly. See Imprivata Locker Android Registration.
Step 3 – Create Workflows
Workflows are collections of settings and assets to deploy to devices. A Workflow may contain several types of actions and can be deployed to a connected device either manually (On-Demand) or automatically (Rule Based, on connect, which can be enabled via the Automation tab). See the Create & Edit Workflows article.
Step 3a – Create a Check In Workflow
For more information, see Check In Device Actions.
Step 3b – Create a Check Out Workflow
For more information, see Basic Check out Workflow – Android.
Step 4 – Automate the Workflows
After you create Check In and Check Out Workflows, set up your automation rules to deploy them to your devices. For more information, see Configure Basic Checkout Automation.
Wrapping up
At the end of this you’ll be able to successfully check out and check in your Android device. To learn more about what else you can do, such as SSO for Epic Rover, see our documentation.
Epic is a registered trademark of Epic Systems Corporation.